Affichage des articles dont le libellé est recipe. Afficher tous les articles

vendredi 9 mai 2014

Cheese Puffs Recipe - Easy and Delicious

Yesterday I made cheese puffs and thought this recipe was too good not to share!
In France these are called 'gougères', I've always heard that they are very hard to make. But they are not! Even with our whimiscal oven, it's very easy.

So you need:
- 4eggs
-  150gr grated cheese
-150 gr flour
-80gr butter
-salt and pepper


Hihi! :)

First put the butter to melt in a sauce pan with 25cl of water. At this point you can add salt, I didn't do that because I always use salted butter. It's great for pastries, it gives a little extra something which is very nice.


Once the butter is melted, you can add the flour after taking the sauce pan away from the burning stove. Mix it until it's nice and smooth.
Then put it back on the burning stove for about a minute. Turn off the stove, you won't need it anymore.


Then add the eggs, one at a time. Mix well between putting each egg.

Then add the cheese and pepper. Mix again.
I made them with chunk of blue cheese the other. It was nice as well! I guess you can make them with all kinds of different cheese as long as the chunks are small enough.


Now you can put the dough in a plastic bag. I didn't have any made for cooking so I used these very tough enveloppes I bought and never use. They are very resistant.


Cut a hole on the pointy tip of your bag. Then shape your puffs. Et voila!

You just have to put them in the oven now, until they are a nice golden color and they are done! :)
As for the temperature, I have no idea, since our oven is old and the temperature is very random. I would say it's the same temperature I would use to bake pizza. :s 


Some are without any cheese in this batch. I made whipped cream and there was a dessert :)


I'm very happy about this! :) My Mom gave me 'muguet' and we bought basil, terrified my cat would eat them and scatter the dirt all over the place but he didn't! So I found a spot for them by the window, and now all I can think about is getting more plants!
My previous cat wouldn't let them a chance to grow. He would eat them, scratch them, pee in the pots... But Hopi is much nicer to plants! :D

dimanche 27 avril 2014

When everything goes wrong... :)


This week end most of the things I attempted miserably failed! :) Even if those are things I do on regular basis and everything goes fine, this time I messed up! :)
On friday I was invited to a birthday party and I wanted to make some 'cannelés', french cookies with rhum and vanilla. Those are delicious! When I discovered the recipe a couple of years ago I would make them all the time and I gained about 6 pounds in 2 months, but that was totally worth it! ;)
So Friday I decided to make pink cannelés since the theme of the party was flamingos! Black and pink.


They were a total disaster. I don't have pictures of them, because I was in a hurry. I was so ashamed that I didn't take them out of my bag at the said party! :s I wanted to share the recipe in the blog post but I need to make them right and take decent pictures to do so :) So I'll have to try again. But the oven here is so whimiscal, that's why I had so much trouble! The cannelés are very delicate to bake. Anyways! That was the first fail of the week end... I ate them anyway :p They were not bad to the taste...Burned in places but not bad... Just very very ugly and not in the least pink!!! Grrr!

Then today I wanted to make a bag to sell it at my online shop. I screwed up big time! :) The purse was crooked, it was too long, the portrait was not centered, I just hate it!
I asked my boyfriend to help me take the pictures anyway and it started raining! :) We couldn't finish! :)
Well, I'll just sell the bag at an on-sale price. I almost lost my temper and throw the damn thing away while I was doing it. It's so full of flaws I can't stand it! :)

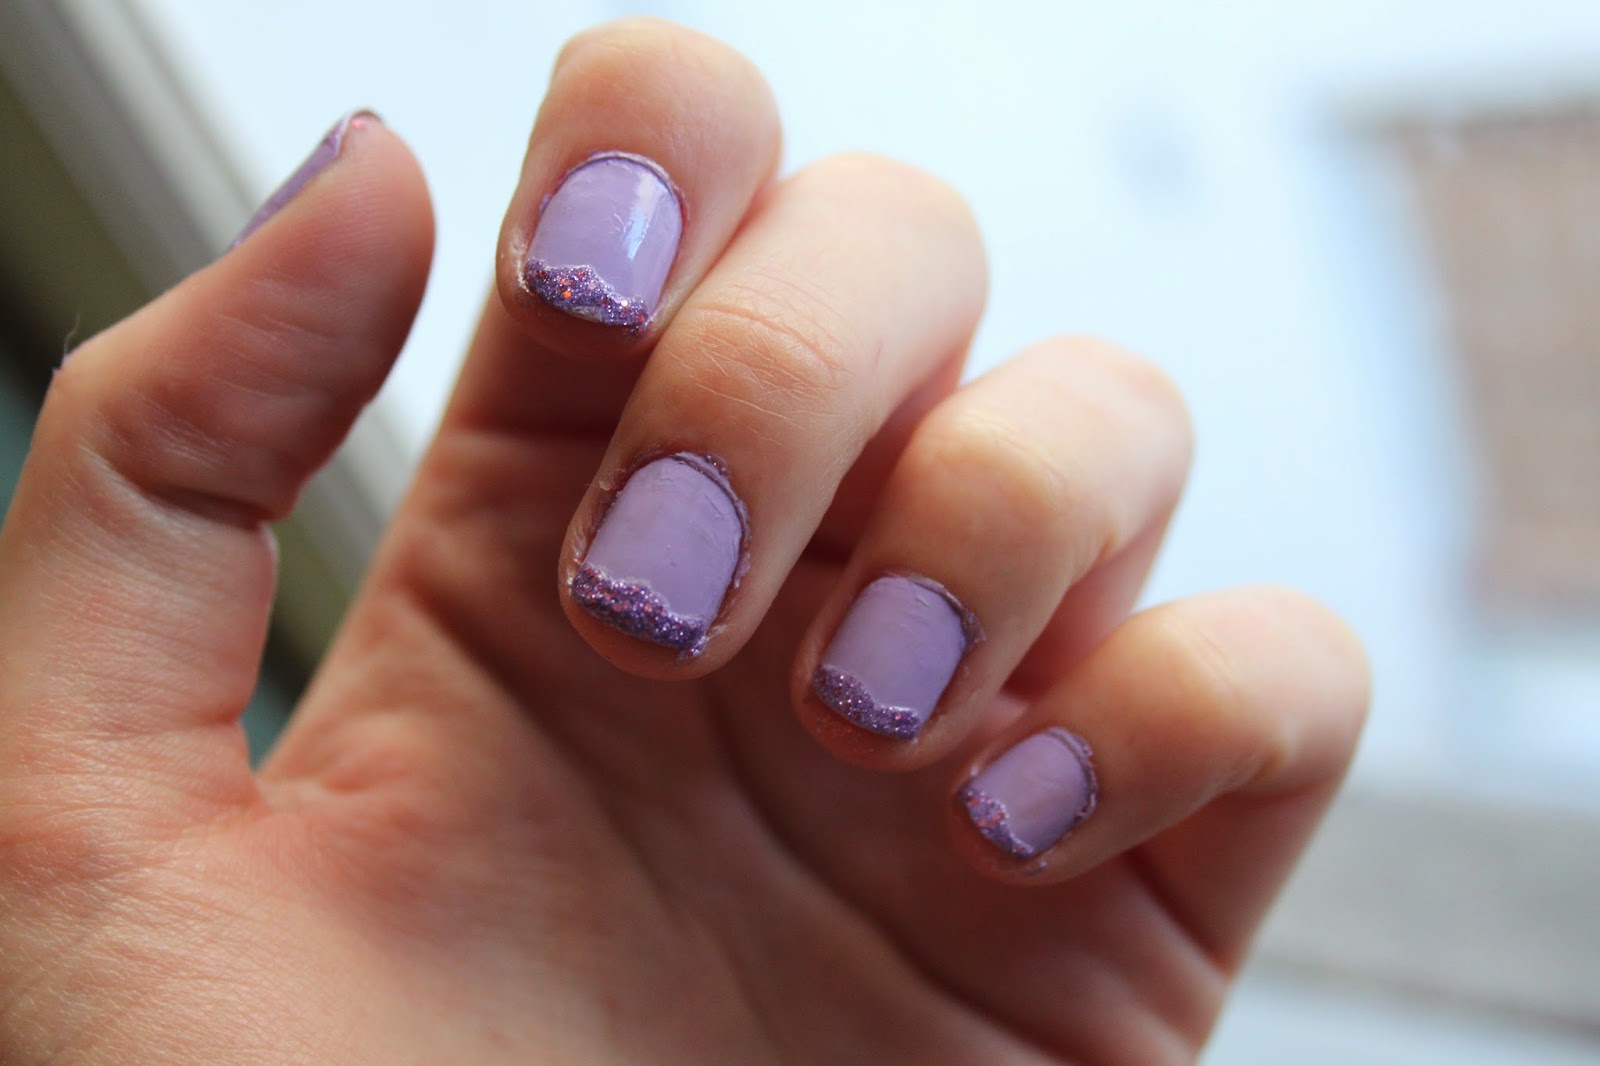
And then I wanted to paint my nails.... What could possibly go wrong in such a harmless and easy process as this one? :)
I've seen all these manicures over the different blogs I'm reading using tape to make decors. I was very excited to get back my shears( I'm not sure that's the right word, what I mean is the pair of scissors you see in the pictuire, they're supposed to do zig zags as you cut). I brought them back from my place the other day.
And well, the manicure turned terrible! :)
So freaking ugly! ^^
I'm not mad nor frustrated, everything else went pretty smootly this week end. We booked an appartment for september in Chicago, I saw my friend Nina and was able to overcome social awkwardness going to her friend's birthday party, I did a few sales on my online shop... I just thought all these mishaps were funny :)

Oh yeah, and every morning I wake up with this adorable creature in my arms, so how could anything be that bad?

jeudi 17 avril 2014

Cooking Fish In Salt


On Mondays we watch a cooking show on French TV. Last monday they talked about cooking mackerels and sardines by putting them in salt.
I had to try that! So here we go! I love sea food and I love salt!
 I bought a couple of mackerels, and 1kg of cooking salt.


Make sure the fish are fresh. The eyes should be shiny and the gills bright red.
They cut the fish to get the fleshy parts only.

It's really easy to get the flesh of the mackerels. Cut along the back bone at the top of the fish. You should feel the fishbones as you're cutting along. Once you've done both sides of the back bone, make an incision  near the tail and another one at the head on each side as well. 
You cans see on the second picture that the fleshy parts are off the bones. Get rid of the guts, cut in half.
I like to rinse the flesh once I'm done with that part, because blood gives a terrible taste to the meat.
I chose to keep the skin on, because it was advised in the video I watched but if I had to do it again I would take the skin off. It was impossible to eat! Very slimy and hard to cut with a knife.


Then place the salt in a container, about 1cm thick of salt and place the meat. Cover in salt until you can't see the fish. Place the dish in the fridge.
I've heard that it should take 15mn for the salt to cook the mackerel but it wasn't enough for me. As the fish is getting cooked the flesh becomes milky pink and the skin wrinkles.
I left it for 30mn and still it was pretty raw here and there. I guess it is because the mackerels I bought were rather large and the meat was thick.
Then rinse the salt off the fish at the tap.

Tadaaaa! :) It was not that good actually :D I LOVE mackerel but it's full of fat and you can really taste it when cooked this way. Tonight I'm going to try that with sardines and give an update. I kept the salt I used for the mackerels.
But concerning mackerels I would do thing differently.
First I would take the skin off (it would probably help the meat to cook faster) and second I would let it in the salt for at least 45mn.
I love the idea of cooking fish with salt. That's why I won't give up so fast. :)


Haha! And I took this picture. Cracks me up! I found this die with letters on it on the bathroom floor(my cat probably played around with it) and  I realised it read TP. This is art. :)